Tips for Publishing Your Courses to Word

For many course designers, publishing and deploying the course is the easy part. Much trickier to control is what happens after that. How can you maintain current and accurate documentation that can be shared with learners, subject matter experts, legal archive records, and other project stakeholders? There are all sorts of reasons why you might want to print out a paper version of your course to address this challenge, but how exactly do you do this?
One approach is to grab screenshots of each slide of your course with a tool such as SnagIt, Evernote (my go-to), or even just the print screen button on your keyboard. However, this latter option would not be the first on my list of recommendations. The tediousness of grabbing one screenshot for every interaction/slide within an online course is daunting.
The easiest method—and the one I recommend—is built right into Articulate Storyline: the publish to Word function. I’ve got some helpful tips for making your printed slides look great using this feature. Let’s take a look.
Printing Your Slides in Storyline
The first thing you need to do is start with the publish screen. Click Publish to bring up the publish window options:
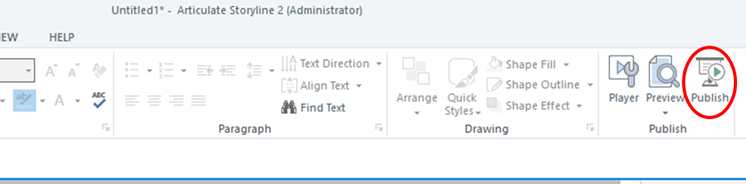
Once you click Publish, here’s what you need to do:
- Select the Word tab (see the screenshot below). Enter a title for your project. The saved name of your Storyline file will appear as the default title, or you can change it here before publishing.
- Choose where you want to save the file. You’ll want to add a check in the Show Layers box. This will ensure that every layer you have added to slides throughout your course will also be included in the published version.
- Add a check to the Show Notes box if you’ve added notes to slides within your file and if you want these to be included in the end result.
I also prefer to choose Screenshot Size: Large. I find when the slides print out they fill the pages better and, more important, are easier to read. However, when you choose this method you may need to make some adjustments to your page margins to get more than one slide to fit on a page.

Adjusting Your Microsoft Word File
When I print out my slides, I often make a few adjustments to make the file look great. Usually I change the margins, resize and edit the footer, and, depending on the project, I may remove the slide titles.These steps must all be done manually within Word, but the process is quick.
Here’s what the finished product looks like, with these settings and tweaks:
- Screenshot Size: Large
- Two slides per page
- Margins, footer, titles adjusted

Ordering Your Slides
One other note you will have to consider when printing to Word is that the slides will print out in the sequence in which they are numbered in your Storyline file. If your course branches around to various slides, you might have a course laid out like this:

If you were to walk through this course start to finish you would visit the slides in this order: 1.1, 1.3, 1.4, 1.8, 1.2, 1.5, 1.6, 1.7 (in fact, 4, 8, 2, and 5 could be visited in any order). When you print this course out to Word, it will print in numerical sequence 1.1, 1.2, 1.3, 1.4 …
This means that if you want a true representation on paper of how someone might walk through your course online, you may have to move slides around within the Word document as well in order to place them in the sequence in which they are visited.
Printing Your Interactions
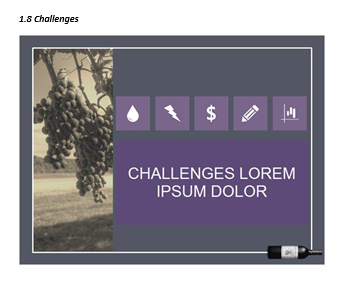
If you have a custom-built interaction, you may want to follow this tip. Adding states to objects is a fantastic way to speed up development time. However, when you publish to Word, you won’t see the various states for these objects printed out.

As you can see in the screenshot, the large rectangle on this slide has six different states, each revealed depending on which button is selected. This same slide prints out to Word like this:
If I use layers instead of states to create the same effect (adjusting triggers accordingly), I end up with a slide that looks like this, with one layer for each “change” to the main text box.
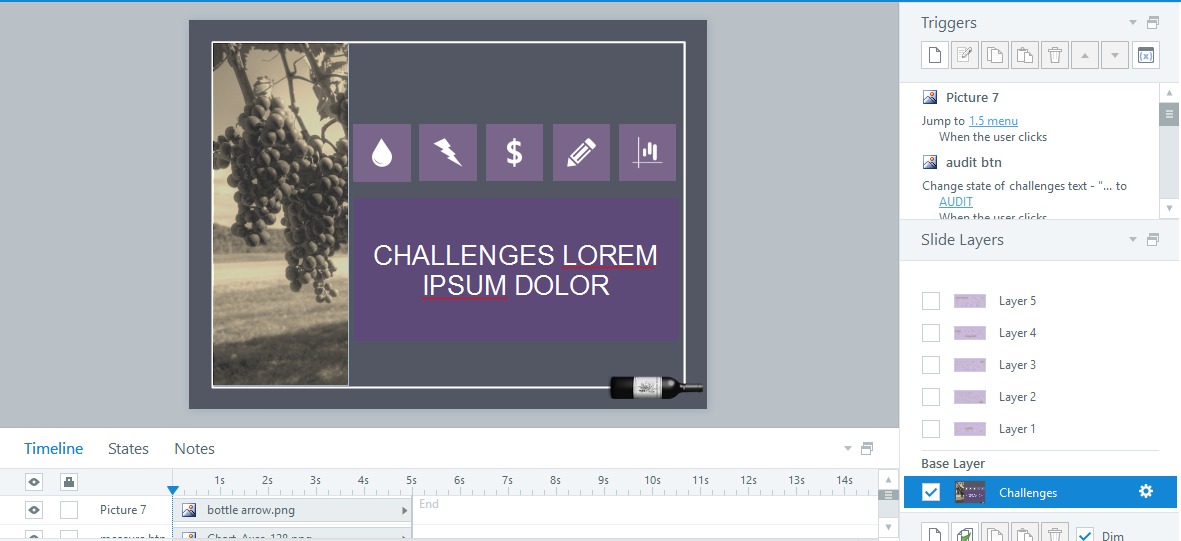
When I then publish to Word and select Show Slide Layers, the resulting Word file will print out with this slide looking like this:
Screenshot Size Large (two slides per page, margins/footer adjusted, slide layers checked).

Now each “state” of the text box is published to the Word document because they are no longer states but individual layers.
I might not design with this method for every course, but for those I know will eventually require a hard copy, this individual layer method can solve many problems with publishing as well as editing copy with SMEs.
Tip: If you happen to use the built-in interactions from Articulate Engage ’13, each step of the interaction will print out individually along with the slides of your .story file, and each step will be labelled accordingly (e.g., tab 1, tab 2, etc.). If you are using an earlier version of Engage, you will need to capture screenshots of each element of the interaction, as only the first screen of the interaction will print.
Interested in more detailed instructions on how to move from states to layers, and how to ensure that your layers then print seamlessly? Please take a look at this quick video.
Got Tips to Share?
I hope you found these tips helpful! If you have questions or comments, feel free to share them below. And if you’ve got your own Storyline tips, we’d love it if you shared those in the comments, too!
33 Comments
Would love to know what size you set the margins and footer/header to get two slides/page on large. Btw--so happy with the increased screenshot size. I use publishing to word A LOT in the review stage, for a voiceover script and as final approved collateral. I used to always receive complaints that reviewers couldn't read the text on the screenshot. In my most recent project, I kept adding the on-screen text to the published output so that the reviewer could read smaller text, such as disclaimers. One "nice-to-have" would be the ability to publish a certain range of slides when publishing to word. Towards the end of development, I stop publishing to word each time and really just edit one version with recent changes (it is easier than making all of the manual tweaks each time--until I lear... Expand