Articulate Storyline - Blurry Exported Bitmaps...
Sep 27, 2012
I've been capturing simulations as interactive videos and bitmaps. I've noticed that once I output
the content (Flash and/or HTML5) that sceen captures are blurry. The Flash blurry output does not
concern me since I'm targeting HTML5 at this point, the Flash Player has always blurred bitmaps.
Steve won that battle. 
I've done some inital testing, see image below. I went into the output\story_content directory
and opened some bitmaps in Photoshop. I mocked up a "slightly sharper" version of a Storyline
exported bitmap. The Storyline exported bitmap was 796 px. X 498 px.
I opened file 6Oc03OJt48n_DX1592_DY1592.jpg (old exported bitmap) and used the same size
but created a sharper image. But once I ran that section of the module (HTML5) with the new
bitmap, that new bitmap was still blurry. Anywhere (code-wise) I need to look to re-size or fix this
via (CSS, HTML or JavaScript) code, or in the Storyline IDE (image, video properties, etc...).
The replacement bitmap is sharper than the original Storyline exported bitmap. It just seems
as if the HTML5 Storyline output or GUI is using the bitmap in such a way that the bitmap
becomes blurry.
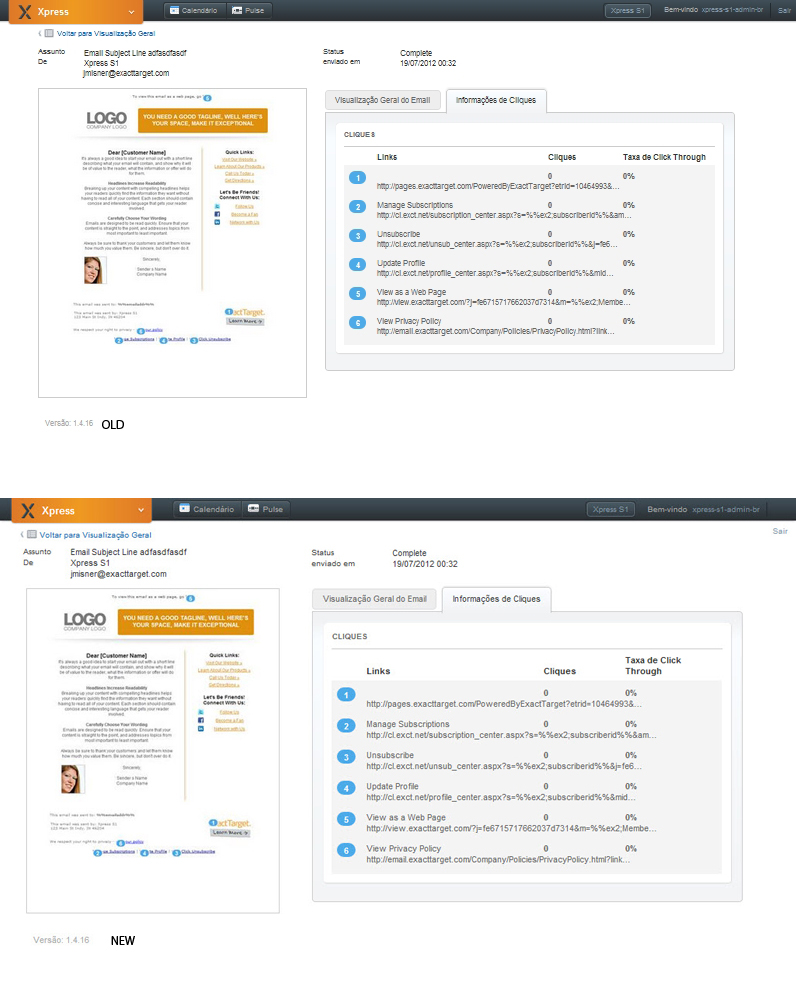
I know (here) that the NEW does not "look" to much sharper than the OLD here (above), but the .psd file and
the final Photoshop NEW exported bitmap is slightly sharper.
John
5 Replies
Good Afternoon, John.
I think we'd like to take a look at both your .story file and your published output in Zip format. Would you mind submitting a support case and including those files for us?
Thanks--looking forward to digging into this!
I have the same problem.
Have been exporting jpegs out from photoshop but when Storyline publishes these files seem to be downgraded with extra compression...especially some difficult colours like red and green. Outputted files from psd are absolutely fine.
ps - Flash had a toggle option to so users could 'Allow smoothing' (useful to stop jaggies on rotates and tweens) as well as allowing the user to control compression output values.
Hey Paul!
Have you tried viewing the course in several browsers, all with the same result? Mind if we take a look at your project? Thanks!
All done, thanks.
Had a reply from staff/articulate to change setting when publishing. I can now change the setting for compression on jpegs to what i like - it was set to standard delivery which was causing the issue.
Many thanks team!
Oh, cool! Glad to hear it, Paul, and thanks for checking back in. Just want to share the below in case someone else encounters the same thing:
The Properties section of the Publish window allows you to make any last-minute changes to your course player, or to change the compression settings Storyline uses when publishing.
This discussion is closed. You can start a new discussion or contact Articulate Support.