When Articulate launched the Rise Custom Code Block, I had the same reaction that many eLearning developers did: excitement, followed immediately by a question: Okay, but how can my team use this without becoming developers overnight?
For most of us, the gap between "I know what I want learners to experience" and "I can write the HTML, CSS, and JavaScript to make it happen" is still pretty wide.
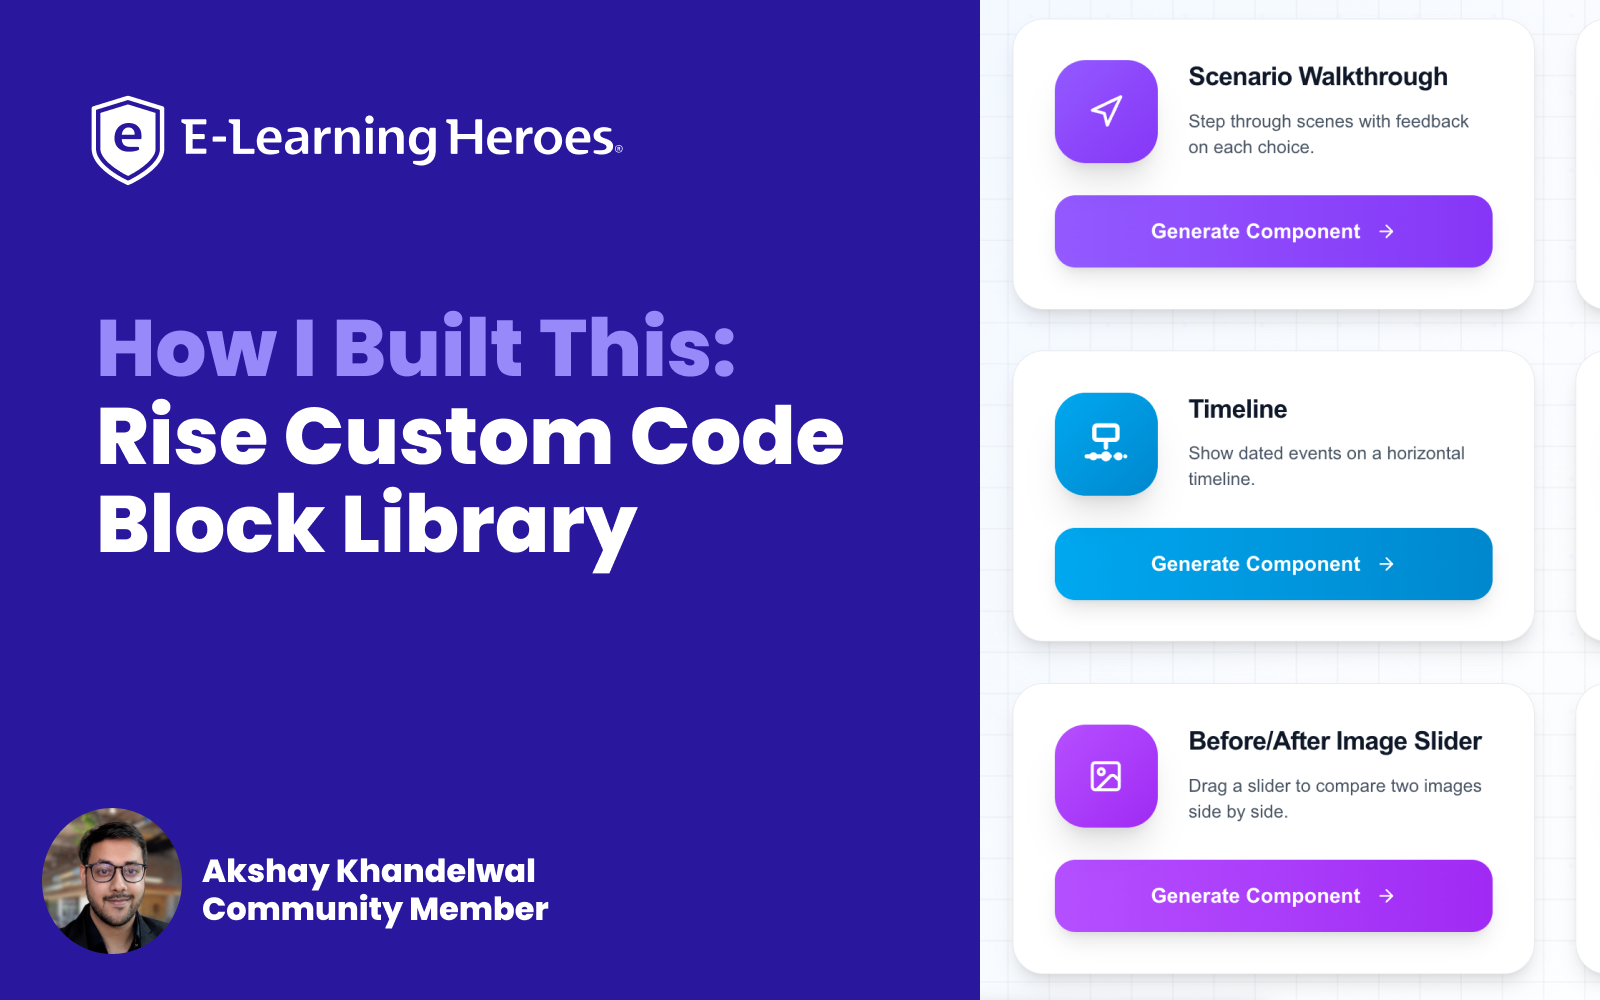
That's why I built Cognito Blox, a free, eLearning component library that lets you configure interactive learning blocks through simple forms, preview them in real-time, and copy a single file of code ready to paste straight into Rise.
Just pick a component, fill in your content, and go.
Try it here: cognitoblox.netlify.app
Why I Made This
I work in learning experience design, and I spend a lot of time thinking about how to make courses feel less like slides and more like experiences. Rise is great for that as it's fast, it's accessible, and learners love it. But every time I wanted something beyond the standard block library, I hit the same wall. I could either:
- Simplify the interaction to fit what Rise already offers, or
- Open a code editor and spend hours (sometimes days) building something from scratch, testing it, breaking it, fixing it, and hoping it still works on mobile.
Neither option felt good.
When the Custom Code block arrived, I started experimenting. I built a few interactions manually, then used AI tools to speed up the process. It worked, but I kept running into the same problem: every new project meant starting over. New code, new bugs, new accessibility checks.
I wanted something reusable. Something where the hard part (the structure, the logic, the responsive layout, the keyboard navigation) was already done, and all I had to do was plug in my content.
Cognito Blox is that thing. It's the tool I wished existed when I first opened a Custom Code block and stared at a blank editor.
How I Built It
This library wasn't a single weekend project. It grew in layers, with multiple late evenings, one component at a time, with plenty of "why won't this work?" moments along the way.
Here's the approach, broken down into the parts that actually matter if you want to build something similar or understand how Cognito Blox works under the hood.
Step 1: Start with one working component, not a platform
The first thing I built wasn't a library; it was a single scenario judgment block. I got it working inside Rise, tested it on desktop and mobile, checked accessibility, and made sure it didn't break when pasted into the Custom Code editor.
That one working block became the template for everything else. If you're thinking about building your own interactions, I'd strongly recommend starting here. One component, fully tested, before you try to scale.
Step 2: Separate the "what learners see" from the "how it's built"
Every component follows the same pattern:
- A form: Text fields, color pickers, image URLs, dropdowns. This is where you (the course developer) do your work.
- A transform function: This takes your form values and generates HTML, CSS, and JavaScript.
- A real-time preview: So you see exactly what learners will get before you copy anything.
- A single-file export: One self-contained HTML file with all styles and scripts inline, formatted specifically for Rise's Custom Code block.
You fill in the form. The tool handles the code. That separation is the whole idea.
Step 3: Build the generator app with AI-assisted development
The web app itself (the part with the forms, previews, and copy buttons) is built with Next.js, React, and TypeScript. I used AI tools (Claude & Qwen) throughout development to move faster on repetitive patterns: form validation, code generation templates, responsive layouts, and accessibility attributes.
I'm not going to pretend every AI-generated snippet worked on the first try. It didn't. But starting from a working component and iterating with clear prompts got me to a full library much faster than writing every line by hand.
If you're using Cognito Blox, copy the block code and provide it to an AI tool of your choice, along with instructions on how you'd like to customize it. You'll get much better results by starting with a working example than by repeatedly prompting, testing, and tweaking from scratch.
💡Think of it this way: vibe coding works best when AI starts with a complete block, not a blank canvas.
Step 4: Make the output Rise-ready by default
This was non-negotiable. Every generated component:
- Ships as a single HTML file (Rise Custom Code blocks expect one paste, not three separate files)
- Uses zero external dependencies: no jQuery, no React CDN, no Bootstrap. Pure HTML, CSS, and vanilla JavaScript
- Is responsive across desktop, tablet, and mobile
- Includes accessibility basics
Step 5: Test inside Rise, not just in the browser
The preview in the tool is useful, but Rise is the real test environment. I built a demo course with every component embedded in actual Rise Custom Code blocks and published it so anyone can see how they behave in context.
That testing surface is what caught issues the standalone preview missed, such as container width quirks, scroll behavior, touch interactions on tablets, etc. If you're building custom code for Rise, always test in Rise.
Ideas for Using These Components
As I built the library, I focused on interaction patterns that solve common instructional design challenges. While each component has a specific purpose, most can be adapted across a wide range of learning experiences.
If you'd like to try them yourself, you can find the project, documentation, and setup guide on GitHub.
Key Takeaways
- Custom Code blocks don't require you to be a developer — you just need the right starting point
- Start with one working component and reuse its structure rather than building from scratch every time
- Test in Rise, not just in a browser tab — the preview environment and the published course behave differently
- Keep output simple — single file, no external dependencies, accessible by default
- AI tools can accelerate the build, but you still own the instructional design decisions and the quality checks
- The best custom interactions serve the learning objective — flashcards for recall, scenarios for judgment, journals for reflection. Pick the interaction that matches what you want learners to do, not just what looks cool
What's Next
I'm actively working on new components (matching/sorting, a 3D explorer, and more) and refining existing ones based on community feedback. Looking ahead, I'm also exploring creating short video walkthroughs that cover the entire process (from choosing a component and configuring it to pasting it into Rise) to make it even easier for the community to get started.
If there's a specific interaction you'd want to see added, tell me in the comments. The library grows based on what L&D professionals and course developers actually need.
If you build something inspired by these ideas, I'd love to see what you create. Feel free to share it in the comments or in the Share Examples Hub so others can learn from it too.
Ask Me Anything
I'd love to hear your feedback, answer questions about the build, or talk through how you'd use these components in your own projects. Drop your thoughts in the comments below. I'll be checking in and responding.