javascript
96 TopicsDo You Like Scary Movies?
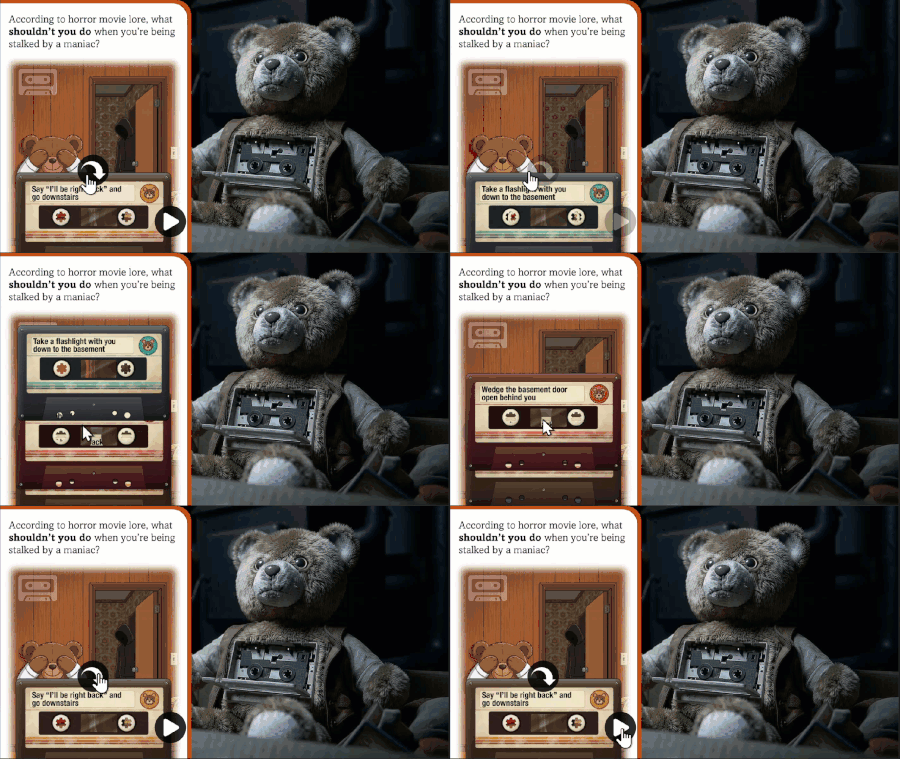
Hello! Although I submitted a Halloween-themed demo for last week's challenge, I couldn't resist the opportunity to practice with cut scenes and interactive video elements, Definitely wouldn't do anything like this for a work project. But I would absolutely use the same branching logic and decision mechanics, so it's all good practice. Do you like scary movies? https://bit.ly/elhc572Cybersecurity Meets Creativity
For this submission I took a different approach. Instead of building a traditional demo or scenario-based quiz, I focused on the first few seconds of the learning experience, because in cybersecurity every second counts. Setting the Scene with Sound and Motion To immediately capture the learner’s attention, I created a high-energy introductory slide using kinetic typography and a stomp-style soundtrack. The idea was to create an immersive, rhythmic start that echoes the urgency and tension of the cybersecurity landscape. This isn’t just a flashy animation, it’s a carefully timed message. With bold movement and percussive beats, the slide communicates the importance of staying alert and protecting personal information in a digital world filled with threats. Powered by Articulate’s New JavaScript API To bring this to life, I used Articulate’s latest JavaScript API. This gave me more control over the timing and sequencing of the animated text, allowing it to sync precisely with the beats of the music. Each key term, like defend, detect and protect, gets visual emphasis to reinforce key cybersecurity concepts and actions. Why This Approach? Cybersecurity training can sometimes feel dry or overly technical. My goal was to disrupt that expectation with something bold and modern. By combining motion graphics with a high-intensity audio track, I aimed to spark curiosity and set a tone of urgency that pulls learners into the content. Absolutely — here’s the revised **Final Thoughts** section with your point expanded. It emphasizes the contrast with traditional e-learning intros and reinforces the value of your creative approach: Final Thoughts This submission is just a single-slide experience, but it’s designed to make an impact right from the beginning. In many e-learning courses, the first slide is often a static title screen, maybe a logo, a headline, and a stock image. While that’s functional, it often misses a valuable opportunity to emotionally engage the learner and signal the importance of the topic. With this project, I wanted to challenge that norm. By opening with kinetic text, rhythmic motion and intense stomp music, I created a visceral first impression that communicates urgency and relevance, especially important when the subject is something as critical (and often underestimated) as cybersecurity. This kind of introduction does more than just look cool. It tells the learner: Pay attention, this matters. And in a world where digital threats are constantly evolving, capturing attention from the very first moment is a key part of building awareness. Because in cybersecurity, awareness begins with attention and great learning starts with engagement. Want to Try It Yourself? You can preview the interaction here to see it in action. If you'd like to explore how it was built, I’ve also made the full project available as a free download. Feel free to dive in, tweak it, and make it your own! About me: Paul Alders LinkedIn Profile The eLearning BreweryAlways on top
I just set myself the challenge of having elements that are "always on top". I've worked on a handful of courses in the past, that had an irregular shaped header graphic (sometimes with drop shadow), where it would have been great to be able to set some elements in the Master Template to appears always on top of other elements within the module. For those courses, I had to create a slice of the header (the irregular shaped part) and paste on each slide, where the header appeared over another element on the slide. I have had some success, and of course it is a JavaScript implementation. This is very much an ALPHA release. Here's the implementation if interested in having a play with it or extending it. I'm sure there will be some elements, that I haven't played with, that may need some extra logic in the JS. For each element you would like to appear always on top, add the string "{AOT}" in the "Alternative text" field. If the element is decorative, you can just add "{AOT}". This will be taken care of during processing (removed, and set to aria-hidden=true). If the element is non-decorative, for example an exit button, you would just add "{AOT}Exit" to the alternative text. This would also be process, and "{AOT}" removed and "Exit" retained in the ALT text. Add the following script to the "timeline starts" on the SLIDE MASTER. This ensures that the script will process on every slide. const init = () => { // inititial value for z-index let z = 999; // get all elements with data-acc-text attribute starting with "{AOT}" const elements = document.querySelectorAll('[data-acc-text^="{AOT}"]'); // loop through each element elements.forEach(element => { // get the modelId and accText from the element's dataset const { modelId, accText } = element.dataset; // get the root element with the same modelId const rootElement = document.querySelector(`[data-model-id="${modelId}"]`); // set the z-index of the root element (incrementing by 1 each time) rootElement.style.zIndex = z++; // get the alternative text by removing "{AOT}" from accText and trimming the result const alt = String(accText).replace('{AOT}', '').trim(); // get the alt element with the id "acc-${modelId}" const altElement = document.getElementById(`acc-${modelId}`); // set the alternative text to the element's dataset element.dataset.accText = alt; // re-write the inner text of the alt element altElement.innerText = alt; // if the alternative text is empty (decorative), set the aria-hidden attribute to true and the z-index to -1 if (!alt) { altElement.setAttribute('aria-hidden', 'true'); altElement.style.zIndex = '-1'; } else { if (altElement.hasAttribute('aria-label')) altElement.setAttribute('aria-label', alt); } }); }; requestAnimationFrame(() => { init(); }); I've also including a very simple example file. This just demonstrates that the designated "Always on top" elements will appear over the image on the slide.984Views2likes5CommentsJavaScript for the Rest of Us: A Practical Example in Storyline 360 with Drag and Drop Cables
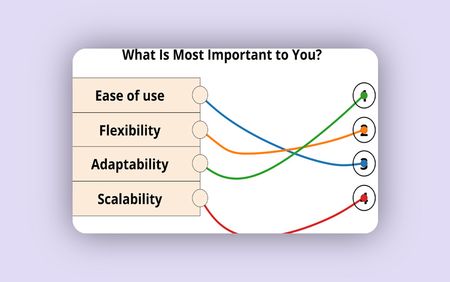
Join us for the final installment of this engaging webinar series with special guest, Nathanial Hilliard, where we’ll take a closer look at an actual small project that implements several of the ideas introduced in previous sessions, bringing JavaScript to life in your design1.4KViews3likes0CommentsSimple Tabs
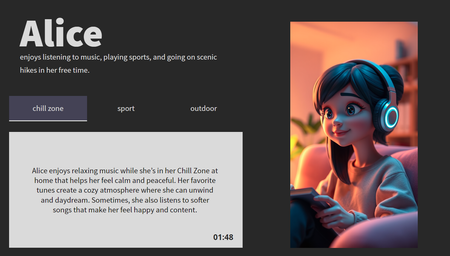
That’s probably the most accurate way to describe this submission, possibly the most boring interaction I’ve ever produced for an eLearning challenge. Ironically, it’s built around tabs, which can be pretty useful when done right (keep them simple, clean, and don’t overthink it). But here’s the twist: If you manage to stick around for 2 whole minutes, you’ll unlock a reward, a downloadable Storyline file. Because if you’ve got the stamina to survive two minutes of my "creativity," you deserve something. Inside: 🕒 A global timer built with JavaScript 🎞️ Image transitions powered by the Web Animation API 🎁 And who knows, maybe a surprise or two. LaunchCopy The File
Hello! This is a twist on the classic 'tab interaction that looks like a file of papers', which uses a Drag and Drop interaction instead of traditional Click To Reveal. But I've built in fallback controls to make it more accesible, of course. This was also a chance to play around with Rise's new AI Avatar feature, and extend that footage using Google Flow to create the two 'cut scenes' that bookend this experience. Check it out here: Copy The File | EngageBrainTrain.com 395Views2likes5Comments
New Tutorial! Create and Control Glassmorphism Effects With JavaScript In Storyline
Hi Heroes, I'd like to share the latest episode in my Storyline Magic Series on my YouTube channel! In this episode, we'll delve into 'Glassmorphism'—a modern and powerful design technique that blends translucent surfaces with frosted glass effects. This approach not only enhances the aesthetic of your content but also helps learning designers create depth and establish a clear visual hierarchy. I’ll show you how to create and control this stunning effect entirely within Articulate Storyline 360. Let me know if you'd enjoy seeing more comprehensive start-to-finish project builds like this in the future! And see how other Storyline devs are using Glassmorphism here: https://community.articulate.com/blog/e-learning-challenges/using-glassmorphism-designs-in-e-learning-course-development-310/1151525 --- My name's Chris Hodgson, an eLearning developer and software trainer based in the UK. I enjoy creating fun, unique, and engaging online experiences using Articulate software! Connect with me on LinkedIn - https://www.linkedin.com/in/chrishodgson44/ 1.1KViews5likes2Comments
The Construct
Hello! It's surprising - and a little bit troubling - how AI seems to 'get' certain pop culture references in your prompts. Hopefully, this homage is pretty obvious! The imagery was created using Google Flow and Rise's AI Avatar tool, with the interaction controlled in Storyline. If you view this demo on a desktop, you will need to press the Y and N keys. But if you view it on a mobile device, you will need to swipe left or swipe right. TRY IT OUT HERE: https://bit.ly/elhc557 147Views0likes1Comment
Rise notes utility
I added a global utility bar to my Rise course to add a simple 'notes' piece, data is kept in the browser's local storage and it will not write to SCORM. Because of the global nature of this addon, it can be a handy way to make the functionality, and even some branding, always available to users across your entire course. 1.3KViews14likes14Comments