e-learning challenge
518 TopicsUsing Sliders for Accessible Drag-and-Drop Interactions #569
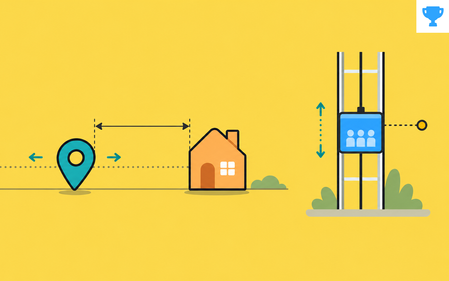
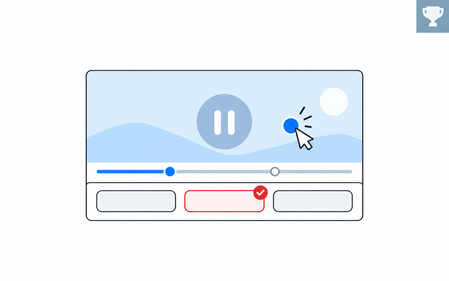
Drag-and-drop is one of the most flexible features in Storyline. With freeform drag-and-drop, you can use images, text, shapes, and graphics to build almost any interaction you can dream up. There's one catch, though: drag-and-drops aren't fully keyboard accessible yet. That can leave some learners out when you want everyone to take part. If your interaction only needs to move in one direction (side to side or up and down), there's another object that works beautifully: the slider. Sliders for Drag-And-Drop Interactions? Most of us reach for sliders to compare values, explore data, or add quick microinteractions. But with a little customization, they can power drag-and-drop-style interactions that work with a keyboard and keep movement locked to the X or Y axis. Aman shows just how well this works in his typography example. View the example The first time I saw it, I thought, "Wait, how'd he do that?" The trick is surprisingly simple when you understand how sliders work. Aman swapped the standard slider thumb for a letter graphic. Now learners can move that letter left and right or up and down, just like they would in a drag interaction. And because sliders are tied to variables, you can make things happen when the values change. That makes sliders a great fit for typography concepts like kerning and leading, where learners need to move an object in only one direction. With a little customization, a slider can measure distance, set an object's position, or step through a sequence. It can even stand in for drag-and-drop, and that's exactly what this week's challenge is all about! 🏆 Challenge of the Week This week, your e-learning challenge is to share an example that shows how you can use sliders to build drag-and-drop-style interactions. Go beyond traditional number scales and use sliders to explore concepts like distance, position, sequence, intensity, or other relationships that benefit from hands-on movement. 🙌 Share Your Work You put in the effort. Now make sure your work gets seen: Personal blog: If you have a blog, write about your example from this week's challenge and share the link with your submission. Social media: Share your examples on LinkedIn and mention both David and Articulate using the #ElearningChallenge tag so we can help promote your work. Peer feedback: Try leaving helpful feedback on at least three projects this week. Community forums: Cross-post in the forums to give your work even more visibility. 🙌 Last Week’s Challenge: Before you slide into this week's challenge, check out the interactive video examples your fellow community members shared over the past week: Turning Video Into Learning Experiences #568: Challenge | Recap 👋 New to the E-Learning Challenges? The weekly e-learning challenges are ongoing opportunities to learn, share, and build your e-learning portfolios. You can jump into any or all of the previous challenges anytime you want. I’ll update the recap posts to include your demos. Learn more about the challenges in this Q&A post and why and how to participate in this helpful article.370Views0likes0CommentsUsing Web Objects for Performance Support in E-Learning #220
Using Web Objects in E-Learning #220: Challenge | Recap Storyline’s Web Objects are similar to lightbox slides in that they give course designers a solution for loading on-demand content and resources when they need it. What makes web objects unique is how they allow learners to access external content such as web pages and intranet sites directly inside the course. Ideas for using web objects include: Pulling in compliance documents from intranet sites Loading synchronous discussion forums and chat rooms for performance support Playing educational podcasts and explainer videos Challenge of the Week This week, your challenge is to share an example that demonstrates how web objects can be used in e-learning. If you’re not using Storyline or Studio, feel free to show something comparable in whatever tool you’re using. Resources Here are a few resources to help you get started. If you get stuck or need some help, please post in the forums and we’ll be glad to help you out. Storyline 360: Adding Web Objects Presenter 360: Adding Web Objects Last Week’s Challenge: Before you get started with this week’s challenge, take some time to check out the Valentine’s Day e-learning examples your fellow challengers shared over the past week: Valentine's Day Interactions #219: Challenge | Recap Wishing you a great week, E-Learning Heroes! New to the E-Learning Challenges? The weekly e-learning challenges are ongoing opportunities to learn, share, and build your e-learning portfolios. You can jump into any or all of the previous challenges anytime you want. I’ll update the recap posts to include your demos.3.2KViews0likes111CommentsUsing Responsive Custom Blocks in Rise #565
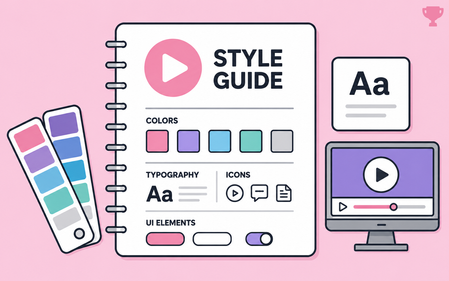
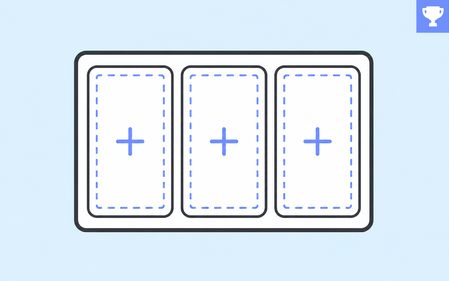
Rise 360 blocks have always adapted to whatever screen a learner opens them on. Custom blocks gave you something different: a blank canvas, and the freedom to put anything anywhere on it. Now you get both. Responsive Custom Blocks are now available as a Labs experiment in Rise 360. Turn the experiment on, and the custom blocks you build reflow across desktop, tablet, and mobile the way the rest of your Rise blocks already do. What Changes You stop placing objects at fixed coordinates and start building with containers. Containers are columns and rows that hold your content and rearrange it as the screen resizes. Each object gets sizing behavior instead of a position: Fixed, Hug, or Fill. That's the shift. You're not positioning objects anymore. You're describing relationships between them. The part worth playing with is Direction. Each device gets its own layout settings, so a two-column layout on desktop can become two stacked rows on mobile. Same content, restructured for the screen. Check outClara's post where she walks you through containers, position settings, and device previews in detail. 🏆 Challenge of the Week This week, your challenge is to build a custom block that works at every screen size. Design it for desktop first, then edit the block for tablet and mobile. A few directions to consider: Take a fixed custom block you've already built and rebuild it responsively Start from a prebuilt template and change the container direction for mobile Build something that genuinely couldn't work as a fixed layout Your Feedback Matters This is a Labs feature, which means it's still being actively developed and shaped by what people tell us. So as you build this week, tell us what you run into: Controls: Are the labels clear? Could you do everything you wanted to? Bugs: Did an object or template reflow in a way you didn't expect? Gaps: What's still missing before you'd use this in real projects? You can share feedback in the Labs forum or use the feedback form inside the feature. Start Here Turn on the Responsive Custom Block experiment in Labs. Open the block library in your training and insert a custom block. Pick a template or start from Blank. Two things to know going in: your existing custom blocks won't change, and most prebuilt templates are now responsive. A few templates aren't responsive and they carry a Fixed Layout badge. 🙌 Share your work You put in the effort. Now make sure your work gets seen: Personal blog: If you have a blog, write about your example from this week's challenge and share the link with your submission. Social media: Share your examples on LinkedIn and mention both David and Articulate using the #ElearningChallenge tag so we can help promote your work. Peer feedback: Try leaving helpful feedback on at least three projects this week. Community forums: Cross-post in the forums to give your work even more visibility. 🙌 Last Week’s Challenge: Before you respond to this week’s challenge, take a look back at how the community branded their courses with style guides: Branding E-Learning Courses with Style Guides #564: Challenge | Recap 👋 New to the E-Learning Challenges? The weekly e-learning challenges are ongoing opportunities to learn, share, and build your e-learning portfolios. You can jump into any or all of the previous challenges anytime you want. I’ll update the recap posts to include your demos. Learn more about the challenges in this Q&A post and why and how to participate in this helpful article.1.6KViews1like0CommentsQuick and Dirty Image Effect for E-Learning Cover Slides #377
E-Learning Cover Slides #377: Challenge | Recap Can You Judge an E-Learning Course by Its Background Image? Need a quick way to set the stage for your course content? Try using a custom background image. Background images are the largest object on your slide, making them one of the best ways to establish context while creating a sense of location. This works equally well for content and course cover slides. But not all projects require custom themes or visual treatments. For example, most e-learning courses are built from existing templates that are modified based on the course content. That’s okay because there’s a background trick for those courses, too! Creating Custom Backgrounds Images Using Transparency In a recent post, Tom Kuhlmann shared a visual design tip commonly used in advertising and high-end product photography. The effect is achieved by using the same image for the focal point and background graphic. The background version is scaled beyond the slide size, and transparency dialed way up to blend the image into the background. Here’s a before-and-after view of the effect: Notice how the faded image fills the background without dominating the slide? This is one of the quickest ways to add richness and depth to your slide backgrounds. And that's what this week's challenge is all about! Challenge of the Week This week, your challenge is to create a cover screen for an e-learning course, real or fictional, using the transparent echo technique. You can share a static image of a cover slide or add a cover screen to an existing project or challenge entry you created. Share Your E-Learning Work Comments: Use the comments section below to share a link to your published example and blog post. Forums: Start your own thread and share a link to your published example.. Personal blog: If you have a blog, please consider writing about your challenges. We’ll link back to your posts so the great work you’re sharing gets even more exposure. Social Media: If you share your demos on Twitter or LinkedIn, try using #ELHChallenge so your tweeps can track your e-learning coolness. Last Week’s Challenge: Before you uncover your slide designs, check out the creative ways course designers build templates from stock vector illustrations: E-Learning Templates from Illustrations #376: Challenge | Recap New to the E-Learning Challenges? The weekly e-learning challenges are ongoing opportunities to learn, share, and build your e-learning portfolios. You can jump into any or all of the previous challengesanytime you want. I’ll update the recap posts to include your demos. Learn more about the challenges in this Q&A post and why and how to participate in this helpful article.4.5KViews0likes119CommentsUsing Mad Libs to Create E-Learning Word Games #216
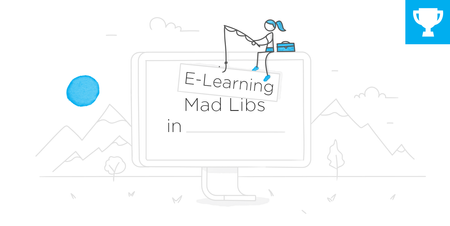
Mad Libs in E-Learning #216: Challenge | Recap Mad Libs® is a popular word game where random words are used to fill in the blanks of existing sentences to create funny and nonsensical stories. The games are often used in the classroom to teach vocabulary, parts of speech, and reading comprehension. For course designers, Mad Libs® style games are an excellent way to practice working with variables. Using Storyline’s text entry fields and variable references, you can create engaging word games that learners can play over and over with different outcomes. And that’s what this week’s challenge is all about! Love Letter Mad Libs Here’s a delightful Mad Libs® example shared by Alyssa Gomez in a previous challenge. The first slide uses text entry fields to capture a series of words from learners. Those words are then displayed using variable references to create a funny love letter on the second slide. Brilliant! View project | Download source Generating Random Mad Lib Stories Storyline's random number variable can be used to present different stories each time the game is played. The number variable is randomized each time the slide loads. The continue button will take the user to one of three slides based on the current value of the variable. View project Challenge of the Week This week, your challenge is to share a Mad Libs® style interaction. If you’re new to Storyline, focus on the technical basics of working with data-entry fields and displaying their values with variable references. If you get stuck, ask in the forums and we’ll be happy to help. For those more experienced with variables, what other ways can you think of to design Mad Libs® style games? Resources Here are a few resources to help you find the right word and design idea for your challenge entry. Mad Libs® website and Teacher’s Guide Storyline 360: Working with Data-Entry Fields Pinterest resources Last Week’s Challenge: To help you find the perfect words and designs for this week’s challenge, take a look at the technology-inspired course starters your fellow challengers shared over the past week: Course Starter Templates for Technology #215: Challenge | Recap Wishing you a _________ week, E-Learning Heroes! New to the E-Learning Challenges? The weekly e-learning challenges are ongoing opportunities to learn, share, and build your e-learning portfolios. You can jump into any or all of the previous challenges anytime you want. I’ll update the recap posts to include your demos.2.7KViews0likes69Comments