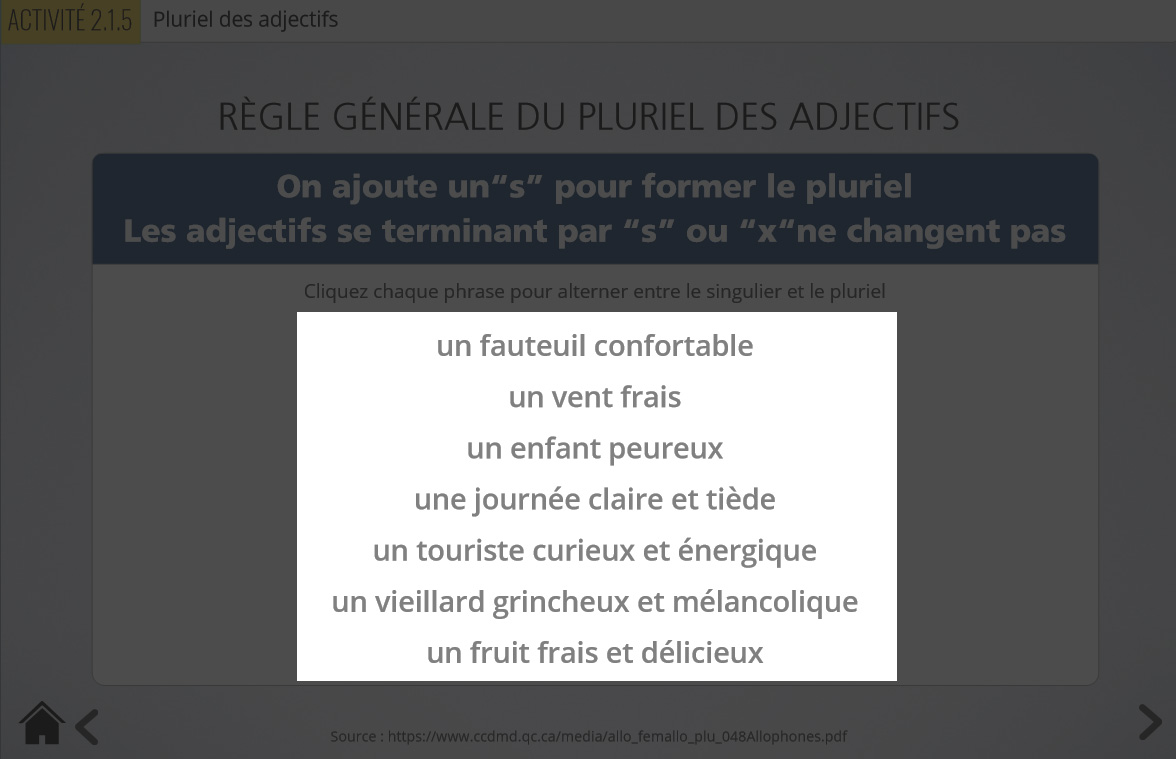
Semi transparent overlay with clear area in center
Jul 30, 2018
By
JC Blanchard
I would like to create a dark semi transparent shape that will cover the enntire slide but with a clear transparent opening to focus attention on a particular area of the slide.
I can do this in Photoshop but since I have many to do, with different size openings, this would be time consuming. Anybody know how to do this quickly inside Storyline 360?
9 Replies
Hi JC,
This is a good question. I tried to replicate this by placing a shape with color on top of the slide and making it transparent (about 60%) then I another Text box on top of the shape (with white Fill).
Hope this helps
Thank you,
Joseph
Hi Joseph,
This is not what I'm looking for. I want to emphasize an existing area of the slide or image by darkening everything around it, I remember seeing a tutorial about something like this, but I can't find it now.
This thread here may provide some ideas.
We can also use Insert > Shape > "Frame"
Then play around with the Shape format?
Michael,
It seems the "slide background fill" you mention in that post is what I would need. Can you explain how to acheive that effect?
See attached the file for my example. For the slide background, right-click on a slide, select Format Background>Picture or texture fill>Insert from File. For the cutout shapes, position and size the shape where you want it on the slide. Then, right-click on the shape>Format Shape> Slide background fill.
You forgot to explain how to darken the surrounding areas, but I figured it out by placing a semi transparent colored shape over the slide but underneath the cut out shapes. It's a great idea but unfortunately it doesn't work for me because my slide background is a plain color and I need to emphasize text boxes (See image in my original post).
The frame as Jani noted is an easy way to do that. It looks weird but will work fine.
Here's a quick tutorial.
Thanks for the tutorial Tom. I was struggling with the frame shape, but making it much bigger than the slide seems to be the solution!
This discussion is closed. You can start a new discussion or contact Articulate Support.