Storyline Template - Menu to Track Learner Progress
Mar 03, 2013
Hello fellow Storyline users,
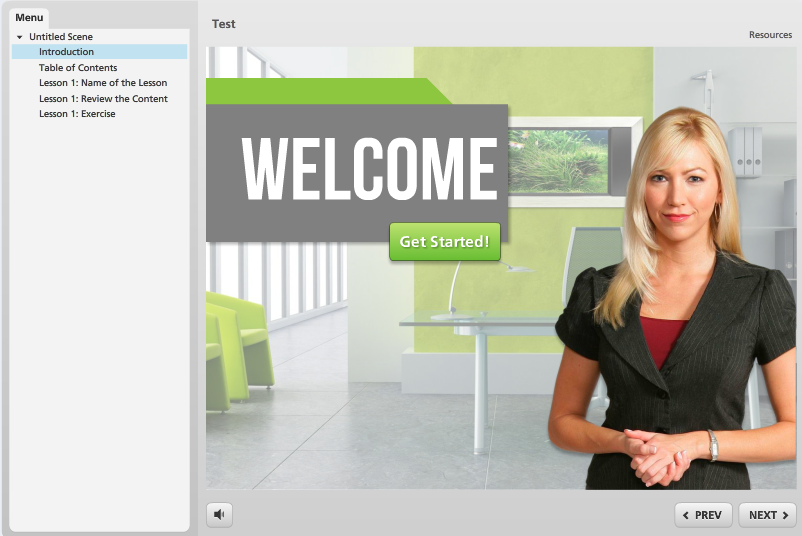
I created a demo file in Storyline for a screencast I recorded and figured I may as well share my file here, in case it can be put to good use by someone. It is a 5-slide .story file, with a menu that allows learners to visually track their progress in a course using states, variables, and triggers (which have all been set up).

20 Replies
That's a nice template, Nicole. Thanks for sharing!
Nicole, nice template. Simple and elegant!
great idea, thank you
That's a nice clean menu Nicole. Thanks for sharing
Nice job on the template. In case anyone's interested in the font used, it's available here.
http://www.fontsquirrel.com/fonts/bebas-neue
How wonderful! Thank you sincerely for your sharing. May I ask where your screencast can be located? I would enjoy viewing the magic behind the template design.
Its nice template very thanks to you Nicole
Very nice. Thank you for sharing!
Thank you for the nice feedback David, Showemimo, Marta, Simon, Prakash and Raye. =) Glad you all like it!
Tom -- thank you for sharing the name and download link for the font. I'll remember to do that next time I share something!
Carla - the screencast I created doesn't show the magic behind the template but it does show the magic behind how to easily add the states, variables, and triggers needed to let the users see their progress. It's my first ever screencast so don't judge me too harshly but here it is: https://player.vimeo.com/video/149071190
Thanks for sharing, Nicole! It looks lovely.
Nicole, this is a beautiful template. Thank you oh so much for sharing!
Very nice! Thank you for sharing this.
Thanks for sharing.
Excellent, Nicole! Didn't even know I needed it until I saw your example.
thnks for sharing the template. Can u also share some other types of interactivity templates?
rgds
chetna
Im trying to apply additional Lessons into the template presenting completed buttons. Im having difficulties applying the correct variables information. Can you please provide step by step how you applied the variables for the lesson 1?
Lisa,
1) Copy/Paste the radio buttons that are already in the course since it already has the states.
2) Create additional True-False variables for clicking visiting the new lesson pages. Make them initially false. Like VisitedLesson2Content, VisitedLesson2Review, VisitedLesson2Review, etc for the additional lessons you want to include.
3) On each of the lesson pages, add a trigger that changes its corresponding variable (as created above) to "true." Make this trigger the first one listed for each button.
4) For each of the lesson radio buttons, add another trigger. This trigger should be listed LAST in the triggers for each button. Have this button change the state of your radio buttons to completed and with the conditions to do this when VisitedLesson2Content = true.
Does this make sense?
Try this
I love the template you have created---thank you for sharing. When I tried to open the attached file it is quote different than the screen shots above. Do you have this template available somewhere else? Thanks so much!
Hi Erin- Not sure how the files got mixed up but you can download Nicole's template from our Downloads hub: https://community.articulate.com/download/progress-tracker
Thank you so much David and Nicole! I am such a beginner.......Can you provide some suggestions/steps on how to repeat the process for lessons 2-4? TIA!
This discussion is closed. You can start a new discussion or contact Articulate Support.